Retroarch Guide for OoT Randomizer
by Raizuto
Instructions
- Firstly install Retroarch - Choose an installation accordingly with whatever OS you are running (If Retroarch crashes upon opening try installing the Windows XP 32Bit / 64 Bit installation instead)
- Hit Load Core on the Main Menu
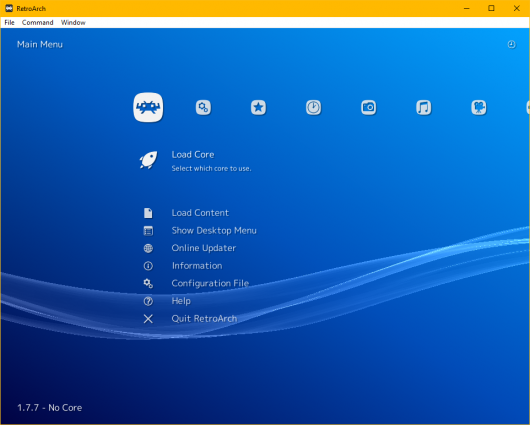
- Then you will hit “Download Core…”
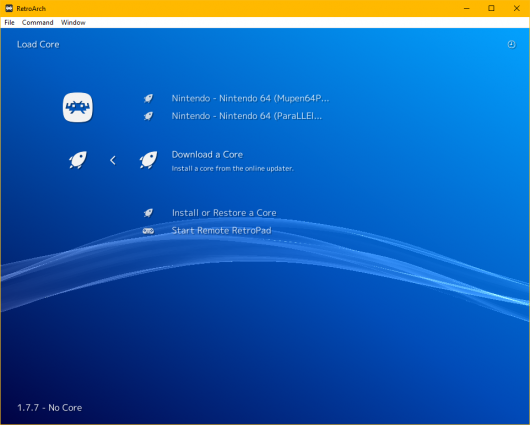
- After the Core index list populates, go down until you find “Nintendo - Nintendo 64 (ParaLLEl N64)” and install it. (If this core gives you issues, try the “Nintendo - Nintendo 64 (Mupen64Plus)” core instead.
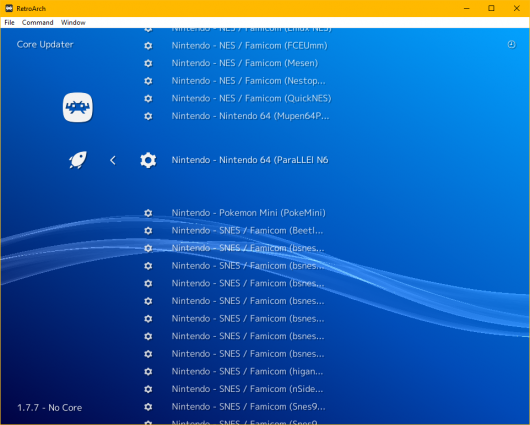
- Now that the core is installed. You can backspace out to the Main Menu.
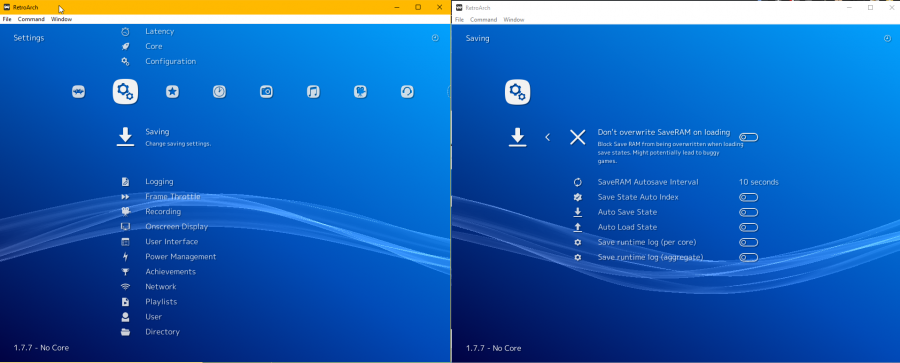
- Next go over to the Settings column menu, then down to Saving to change “SaveRAM Autosave Interval” to 10 Seconds by selecting it & hitting the right arrow key ten times. (As shown below)
- Next go back to the Settings column menu, then down to Directory and hit enter
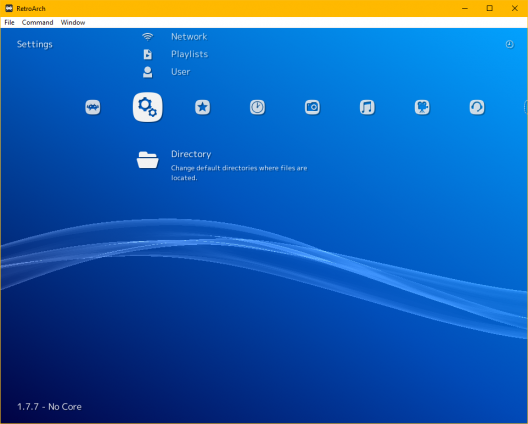
- You should see something like this:
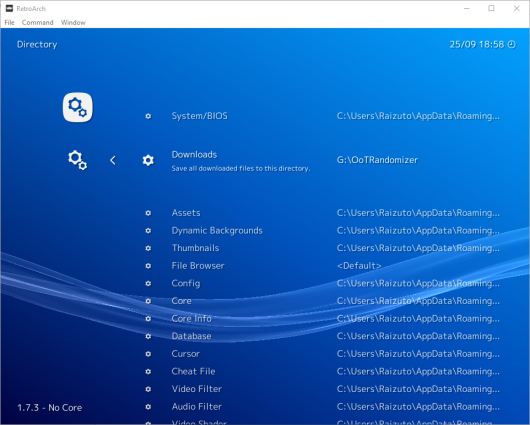
- Proceed to select “Downloads” as pictured above & hit enter. You will be presented with an overview of your system partitions, similar to this:
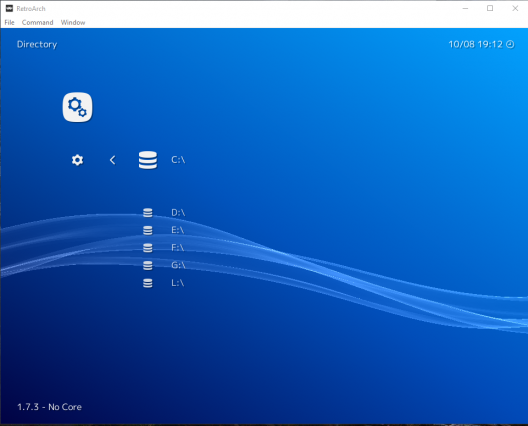
- Now navigate through your Computer files to whatever folder your roms reside in & hit “Use This Directory” even if it displays as empty, hit it anyway.
(If you’re using the Windows OoT Randomizer 3.0 installation. The default location your patched roms will go is within a folder named Output, which gets created & placed inside the same folder your OoTRandomizer.exe exists.)
- After you have completed the previous step, you will now be able to load your roms via the Downloads section on the Load Content menu like so:
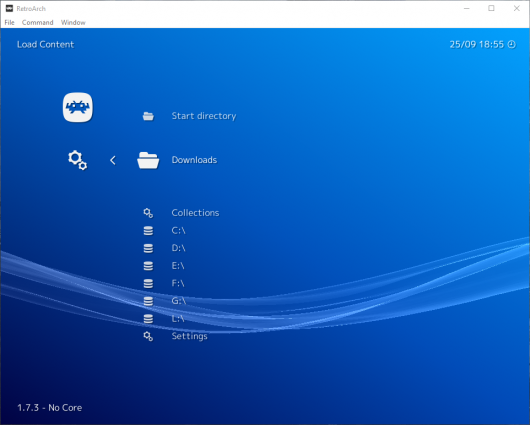
- Optional: If your controls don’t feel quite right:
Access the Quick Menu by hitting F1 while a rom is loaded & go down to Options. Change deadzone to 10 & analog sensitivity to 80.
- Optional: For cool hi-res textures setup, Click here.
Tips
- To unbind any button/key hit the delete key on your keyboard in the input settings.
- NEVER close RA via it’s top right X, close it from far left Main Menu “Quit Retroarch”.
- If you want Retroarch to keep running in the background, go over to the Settings column menu, then down to User Interface, hit enter and set “Don’t run in the background” to OFF.
- If you happen to try setting custom controller user input binds over using the auto configuration, you might want to know the following info:
Left side user input binds (THE DELETE KEY UNBINDS ANY INPUT BINDING)- B button is equivalent to N64 A Button
- Y button is equivalent to N64 B Button
- L2 button (trigger) is equivalent to N64 Z Button
- L1 is equivalent to N64 L
- R1 is equivalent to N64 R
- Movement:
- Left analog X+ = Right
- Left analog X- = Left
- Left analog Y+ = Down
- Left analog Y- = Up
- C-Buttons/C-Stick:
- Right analog X+ = C-Right
- Right analog X- = C-Left
- Right analog Y+ = C-Down
- Right analog Y- = C-Up
ENJOY! (Be sure to only use roms that end with “-comp.z64” & are 32 MB in size!!! Seriously, compress your rom!)
