No edit summary |
mNo edit summary |
||
| Line 151: | Line 151: | ||
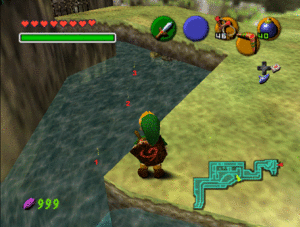
|[[File:Field-drawbridge-wonderitems.gif|alt=Wonderitems on the drawbridge in Hyrule Field|thumb]] | |[[File:Field-drawbridge-wonderitems.gif|alt=Wonderitems on the drawbridge in Hyrule Field|thumb]] | ||
| style="text-align:center" |Child | | style="text-align:center" |Child | ||
| style="text-align:center" | | | style="text-align:center" | | ||
|- | |- | ||
| | | | ||
| Line 168: | Line 168: | ||
| style="text-align:center" |The carpenter can be avoided by ledge-grabbing | | style="text-align:center" |The carpenter can be avoided by ledge-grabbing | ||
|- | |- | ||
|- | |- | ||
|Impa's House | |Impa's House | ||
| Line 187: | Line 186: | ||
| | | | ||
| style="text-align:center" |Adult | | style="text-align:center" |Adult | ||
| style="text-align:center" | | | style="text-align:center" | | ||
|- | |- | ||
|} | |} | ||
| Line 257: | Line 256: | ||
| style="text-align:center" |Must be shot with a Hookshot | | style="text-align:center" |Must be shot with a Hookshot | ||
|- | |- | ||
|- | |- | ||
|Horseback Archery Sign | |Horseback Archery Sign | ||
| Line 290: | Line 288: | ||
| style="text-align:center" |Must be shot with a Bow | | style="text-align:center" |Must be shot with a Bow | ||
|- | |- | ||
|- | |- | ||
|Kitchen Skull | |Kitchen Skull | ||
Revision as of 02:18, 15 January 2024
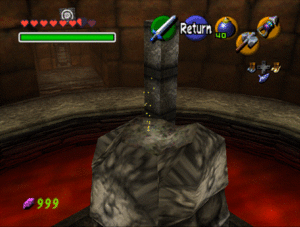
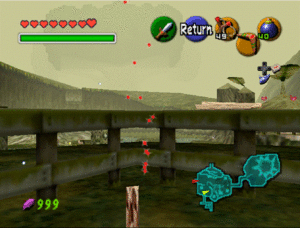
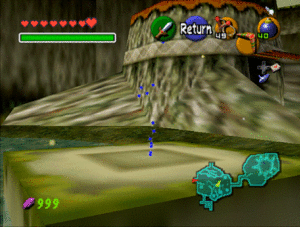
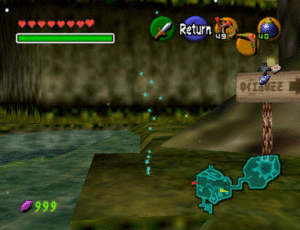
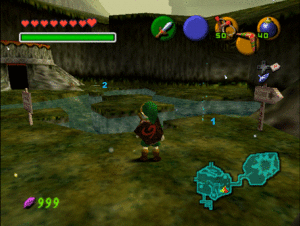
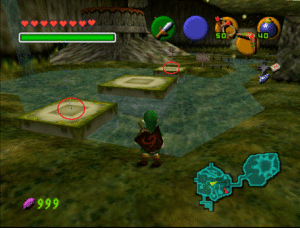
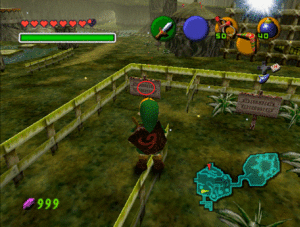
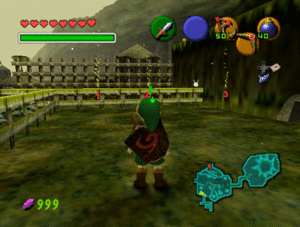
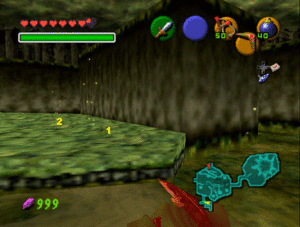
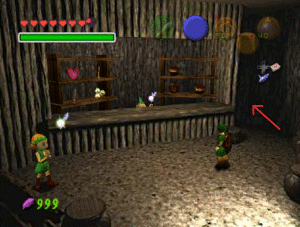
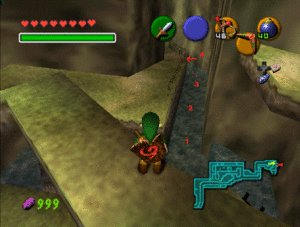
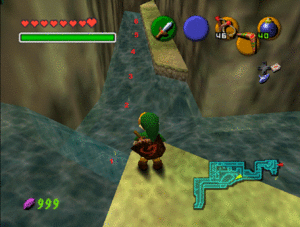
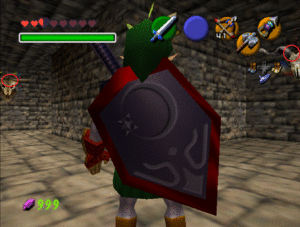
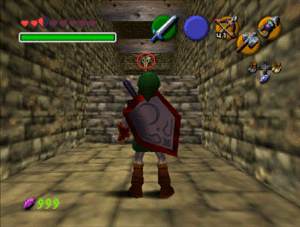
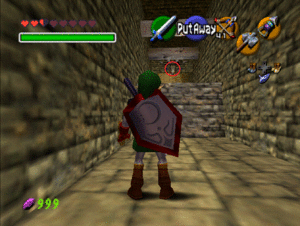
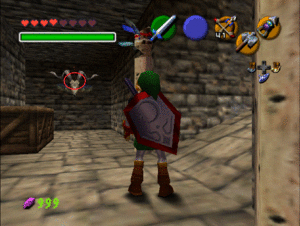
Wonderitems are invisible triggers in the world, either points Link touches (the invisible rupees when swimming down Zora's River) or shoots with an item (the rupees from shooting the Gerudo Fortress signs with a Hookshot). When these are shuffled, they will be highlighted with a sparkling effect. Each type of wonderitem trigger has a different colour, explained below.
Types of Wonderitem
Kokiri Forest: 9 Items
Lost Woods: 3 Items
| Location | Image | Age | Notes |
|---|---|---|---|
| Ocarina Game Grass x3 | 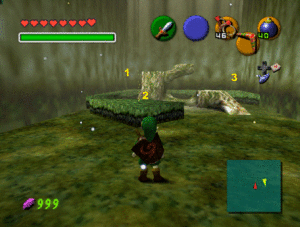 |
Child |
Sacred Forest Meadow: 6 Items
| Location | Image | Age | Notes |
|---|---|---|---|
| Entrance Grass x1 | 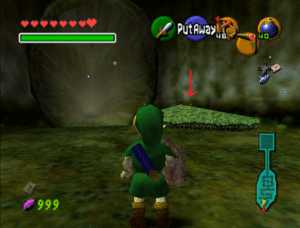 |
Child | |
| Maze Alcoves x5 | 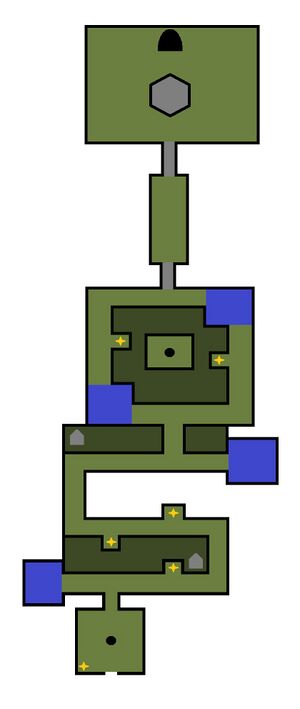 |
Child |
Market: 7 Items
| Location | Image | Age | Notes |
|---|---|---|---|
| Daytime Balcony x5 | 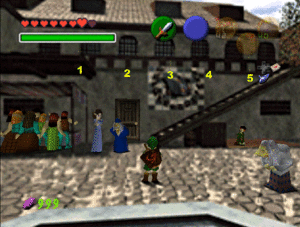 |
Child | Only available during the day |
| Nighttime Balcony x2 | 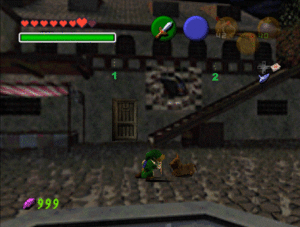 |
Child | Only available at night |
Hyrule Castle: 13 Items
| Location | Image | Age | Notes |
|---|---|---|---|
| Drawbridge Torches 2 | 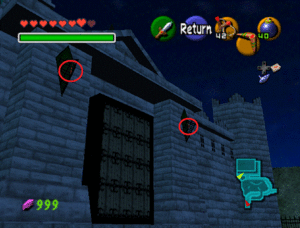 |
Child | Must be shot with a Slingshot |
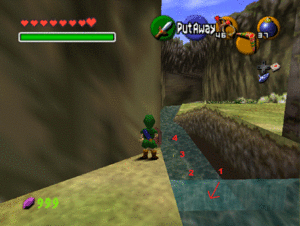
| Castle Moat x 10 | 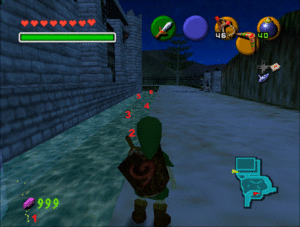 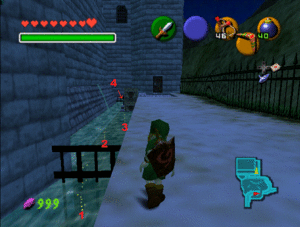 |
Child | |
| Courtyard Mario Painting | 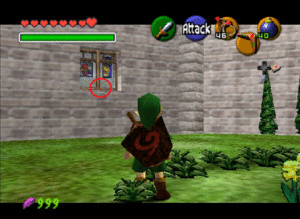 |
Child | Must be shot with a Slingshot |
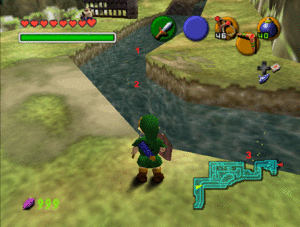
Hyrule Field: 3 Items
| Location | Image | Age | Notes |
|---|---|---|---|
| Drawbridge x3 | 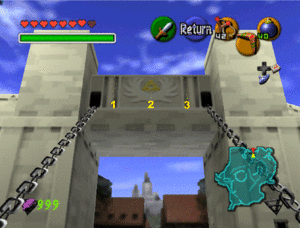 |
Child | |
Kakariko: 2 Items
| Location | Image | Age | Notes |
|---|---|---|---|
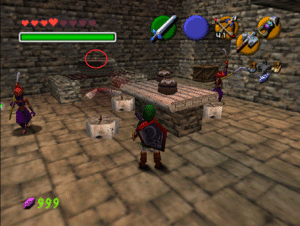
| Building Under Construction | 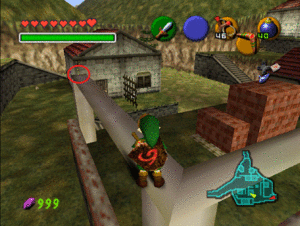 |
Child | The carpenter can be avoided by ledge-grabbing |
| Impa's House | 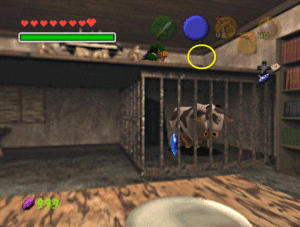 |
Both |
Graveyard: 15 Items
| Location | Image | Age | Notes |
|---|---|---|---|
| Dampe Race x15 | Adult |
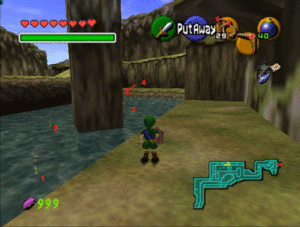
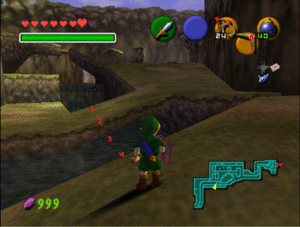
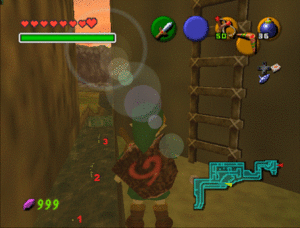
Zora's River: 31 Items
Lon Lon Ranch: 2 Items
| Location | Image | Age | Notes |
|---|---|---|---|
| Hurdles x2 | 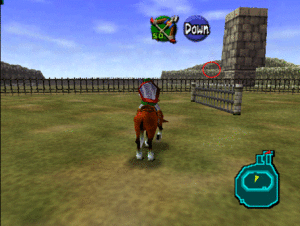 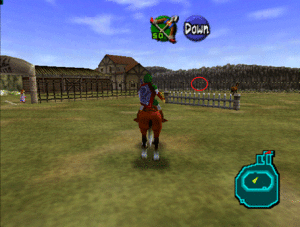 |
Adult | Need to jump into them on Epona |
Gerudo Valley: 2 Items
| Location | Image | Age | Notes |
|---|---|---|---|
| Upper Waterfall | 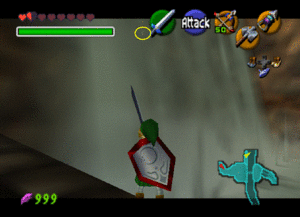 |
Adult | From the spot you pick up the item, a backflip should hit it |
| Lower Waterfall | 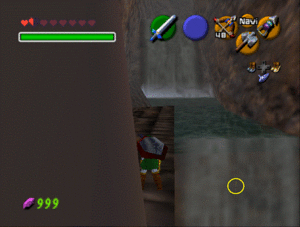 |
Adult | Easier to dive from the ledge rather than drop onto it |
Gerudo Fortress: 2 Items
| Location | Image | Age | Notes |
|---|---|---|---|
| Entryway Sign | 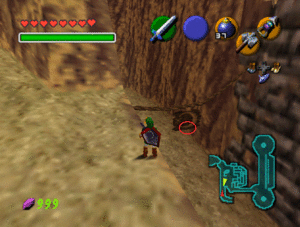 |
Adult | Must be shot with a Hookshot |
| Horseback Archery Sign | 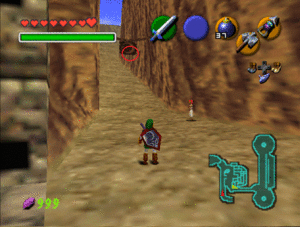 |
Adult | Must be shot with a Hookshot |
Thieves' Hideout: 12 Items
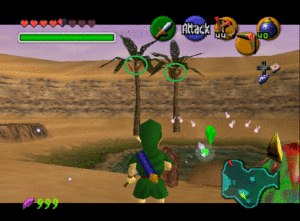
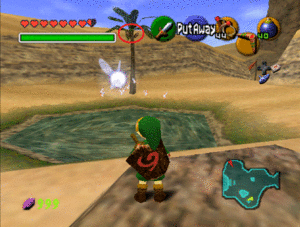
Desert Colossus: 5 Items
Gerudo Training Grounds: 3 Items
| Location | Image | Age | Notes |
|---|---|---|---|
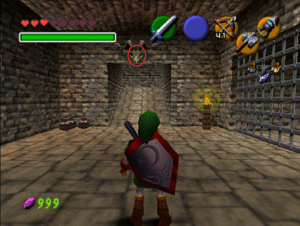
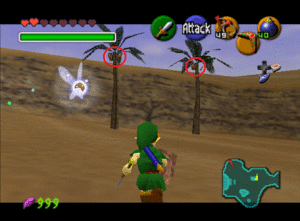
| Beamos Room Door | 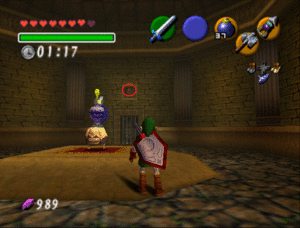 |
Age | Must be shot with a Bow |
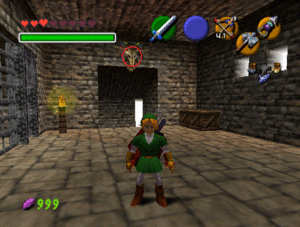
| Torch Slug Room Door | 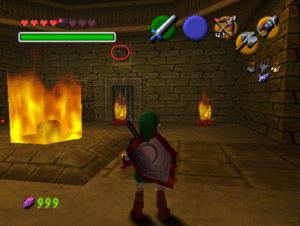 |
Age | Must be shot with a Bow |
| Top of Eye Statue | 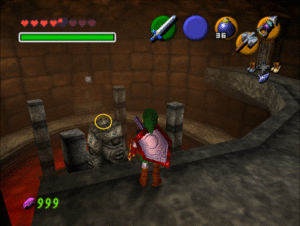 |
Age | Must have Hover Boots to reach |
Shadow Temple: 1 Item
| Location | Image | Age | Notes |
|---|---|---|---|
| Triple Pot Room Wall | 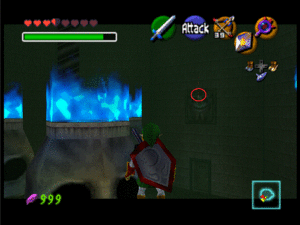 |
Age | Must be shot with a Bow |

