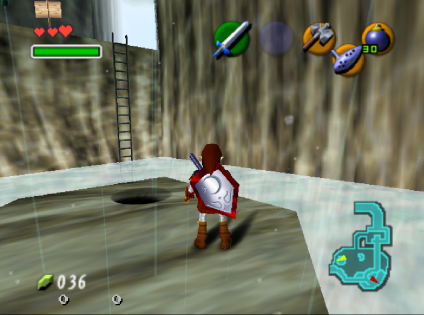
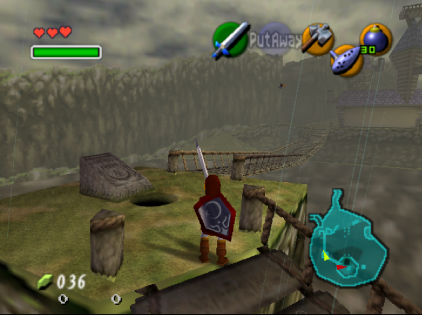
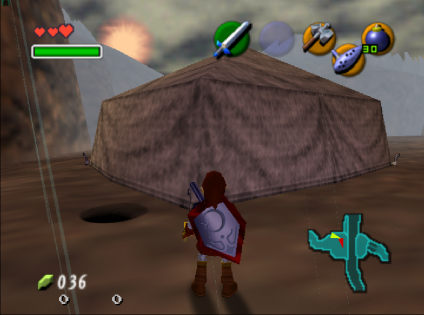
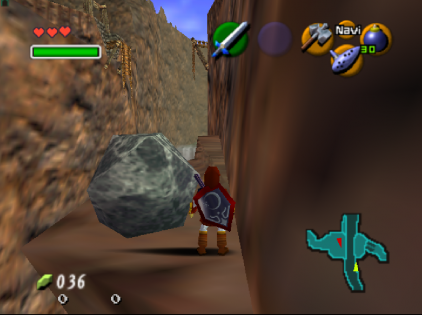
(change names for v6.0) |
mNo edit summary |
||
| (12 intermediate revisions by 5 users not shown) | |||
| Line 2: | Line 2: | ||
This is a comprehensive list of all the grottos in the game. All locations are named as they are in the spoiler log and are accompanied by pictures and item requirements. The purpose of this page is to aid players in finding all the grottos spread throughout Hyrule. | This is a comprehensive list of all the grottos in the game. All locations are named as they are in the spoiler log and are accompanied by pictures and item requirements. The purpose of this page is to aid players in finding all the grottos spread throughout Hyrule. | ||
{{quick reference pages}} | |||
{{TOClimit|3}} | {{TOClimit|3}} | ||
| Line 16: | Line 18: | ||
[[File:kokiristorms.png|560x315px]][[File:generic.png|560x315px]] | [[File:kokiristorms.png|560x315px]][[File:generic.png|560x315px]] | ||
<br><br><br> | |||
== Lost Woods: 3 Grottos == | == Lost Woods: 3 Grottos == | ||
| Line 26: | Line 30: | ||
[[File:lwneargc.png|560x315px]][[File:generic.png|560x315px]] | [[File:lwneargc.png|560x315px]][[File:generic.png|560x315px]] | ||
<br><br><br> | |||
'''LW Scrubs Grotto''' | '''LW Scrubs Grotto''' | ||
| Line 34: | Line 40: | ||
[[File:lwnearsfm.png|560x315px]][[File:twoscrubsleft.png|560x315px]] | [[File:lwnearsfm.png|560x315px]][[File:twoscrubsleft.png|560x315px]] | ||
<br><br><br> | |||
'''Deku Theater''' | '''Deku Theater''' | ||
| Line 42: | Line 50: | ||
[[File:lwdekutheater2.png|560x315px]][[File:lwdekutheater.png|560x315px]][[File:dekutheater.png|560x315px]] | [[File:lwdekutheater2.png|560x315px]][[File:lwdekutheater.png|560x315px]][[File:dekutheater.png|560x315px]] | ||
<br><br><br> | |||
== Sacred Forest Meadow: 3 Grottos == | == Sacred Forest Meadow: 3 Grottos == | ||
| Line 54: | Line 64: | ||
[[File:sfmwolfos.png|560x315px]][[File:wolfos.png|560x315px]] | [[File:sfmwolfos.png|560x315px]][[File:wolfos.png|560x315px]] | ||
<br><br><br> | |||
'''SFM Storms Grotto''' | '''SFM Storms Grotto''' | ||
| Line 64: | Line 76: | ||
[[File:sfmscrubs.png|560x315px]][[File:twoscrubsright.png|560x315px]] | [[File:sfmscrubs.png|560x315px]][[File:twoscrubsright.png|560x315px]] | ||
<br><br><br> | |||
'''SFM Fairy Grotto''' | '''SFM Fairy Grotto''' | ||
| Line 72: | Line 86: | ||
[[File:sfmopen.png|560x315px]][[File:fairies.png|560x315px]] | [[File:sfmopen.png|560x315px]][[File:fairies.png|560x315px]] | ||
<br><br><br> | |||
== Hyrule Field: 8 Grottos == | == Hyrule Field: 8 Grottos == | ||
| Line 82: | Line 98: | ||
[[File:hfsoutheast.png|560x315px]][[File:generic.png|560x315px]] | [[File:hfsoutheast.png|560x315px]][[File:generic.png|560x315px]] | ||
<br><br><br> | |||
'''HF Open Grotto''' | '''HF Open Grotto''' | ||
| Line 90: | Line 108: | ||
[[File:hfopen.png|560x315px]][[File:generic.png|560x315px]] | [[File:hfopen.png|560x315px]][[File:generic.png|560x315px]] | ||
<br><br><br> | |||
'''HF Inside Fence Grotto''' | '''HF Inside Fence Grotto''' | ||
| Line 100: | Line 120: | ||
[[File:hfinsidefence.png|560x315px]][[File:onescrub.png|560x315px]] | [[File:hfinsidefence.png|560x315px]][[File:onescrub.png|560x315px]] | ||
<br><br><br> | |||
'''HF Near Market Grotto''' | '''HF Near Market Grotto''' | ||
| Line 108: | Line 130: | ||
[[File:hfnearmarket.png|560x315px]][[File:generic.png|560x315px]] | [[File:hfnearmarket.png|560x315px]][[File:generic.png|560x315px]] | ||
<br><br><br> | |||
'''HF Tektite Grotto''' | '''HF Tektite Grotto''' | ||
| Line 118: | Line 142: | ||
[[File:tektite.png|560x315px]][[File:hftektite.png|560x315px]] | [[File:tektite.png|560x315px]][[File:hftektite.png|560x315px]] | ||
<br><br><br> | |||
'''HF Cow Grotto''' | '''HF Cow Grotto''' | ||
| Line 128: | Line 154: | ||
[[File:hfcowchild.png|560x315px]][[File:hfcowadult.png|560x315px]][[File:hfcow.png|560x315px]] | [[File:hfcowchild.png|560x315px]][[File:hfcowadult.png|560x315px]][[File:hfcow.png|560x315px]] | ||
<br><br><br> | |||
'''HF Near Kak Grotto''' | '''HF Near Kak Grotto''' | ||
| Line 138: | Line 166: | ||
[[File:hfnearkakoutside.png|560x315px]][[File:hfnearkak.png|560x315px]] | [[File:hfnearkakoutside.png|560x315px]][[File:hfnearkak.png|560x315px]] | ||
<br><br><br> | |||
'''HF Fairy Grotto''' | '''HF Fairy Grotto''' | ||
| Line 146: | Line 176: | ||
[[File:hffairies.png|560x315px]][[File:fairies.png|560x315px]] | [[File:hffairies.png|560x315px]][[File:fairies.png|560x315px]] | ||
<br><br><br> | |||
== Hyrule Castle: 1 Grotto == | == Hyrule Castle: 1 Grotto == | ||
| Line 158: | Line 190: | ||
[[File:hcstormsoutside.png|560x315px]][[File:hcstorms.png|560x315px]] | [[File:hcstormsoutside.png|560x315px]][[File:hcstorms.png|560x315px]] | ||
<br><br><br> | |||
== Lon Lon Ranch: 1 Grotto == | == Lon Lon Ranch: 1 Grotto == | ||
| Line 168: | Line 202: | ||
[[File:llropen.png|560x315px]][[File:threescrubs.png|560x315px]] | [[File:llropen.png|560x315px]][[File:threescrubs.png|560x315px]] | ||
<br><br><br> | |||
== Kakariko Village: 2 Grottos == | == Kakariko Village: 2 Grottos == | ||
| Line 180: | Line 216: | ||
[[File:kakredead.png|560x315px]][[File:redeads.png|560x315px]] | [[File:kakredead.png|560x315px]][[File:redeads.png|560x315px]] | ||
<br><br><br> | |||
'''Kak Open Grotto''' | '''Kak Open Grotto''' | ||
| Line 188: | Line 226: | ||
[[File:kakopen.png|560x315px]][[File:generic.png|560x315px]] | [[File:kakopen.png|560x315px]][[File:generic.png|560x315px]] | ||
<br><br><br> | |||
== Graveyard: 4 Grottos == | == Graveyard: 4 Grottos == | ||
| Line 198: | Line 238: | ||
[[File:gyshieldgrave.png|560x315px]][[File:shieldgrave.png|560x315px]] | [[File:gyshieldgrave.png|560x315px]][[File:shieldgrave.png|560x315px]] | ||
<br><br><br> | |||
'''Graveyard Heart Piece Grave''' | '''Graveyard Heart Piece Grave''' | ||
| Line 206: | Line 248: | ||
[[File:gysunsgrave.png|560x315px]][[File:redeadgrave.png|560x315px]] | [[File:gysunsgrave.png|560x315px]][[File:redeadgrave.png|560x315px]] | ||
<br><br><br> | |||
'''Graveyard Composers Grave''' | '''Graveyard Composers Grave''' | ||
| Line 214: | Line 258: | ||
[[File:composergrave.png|560x315px]][[File:gycomposergrave.png|560x315px]] | [[File:composergrave.png|560x315px]][[File:gycomposergrave.png|560x315px]] | ||
<br><br><br> | |||
'''Graveyard Dampes Grave''' | '''Graveyard Dampes Grave''' | ||
| Line 222: | Line 268: | ||
[[File:gydampe.png|560x315px]][[File:dampe.png|560x315px]] | [[File:gydampe.png|560x315px]][[File:dampe.png|560x315px]] | ||
<br><br><br> | |||
== Death Mountain Trail: 2 Grottos == | == Death Mountain Trail: 2 Grottos == | ||
| Line 234: | Line 282: | ||
[[File:dmtstorms.png|560x315px]][[File:generic.png|560x315px]] | [[File:dmtstorms.png|560x315px]][[File:generic.png|560x315px]] | ||
<br><br><br> | |||
'''DMT Cow Grotto''' | '''DMT Cow Grotto''' | ||
| Line 242: | Line 292: | ||
[[File:dmtcowoutside.png|560x315px]][[File:dmtcow.png|560x315px]] | [[File:dmtcowoutside.png|560x315px]][[File:dmtcow.png|560x315px]] | ||
<br><br><br> | |||
== Goron City: 1 Grotto == | == Goron City: 1 Grotto == | ||
| Line 251: | Line 303: | ||
''Contains'': Three Business Scrubs. They only sell shuffled items when scrubsanity is on. | ''Contains'': Three Business Scrubs. They only sell shuffled items when scrubsanity is on. | ||
[[File:gcscrubs.png|560x315px]][[File:threescrubs.png|560x315px]] | If you are using Song of Time to reach this grotto, there are two Song of Time blocks in the lava. You can play the song once before the lava pool to spawn a block at the beginning of the lava pool, walk out past the first block, and then play the song again to spawn the second block, which will let you jump up on the ledge. The second block will ''not'' spawn if you are playing the song while standing on the first block, or if you are standing where the second block spawns. The first block is not necessary to spawn, only the second one, but will help you avoid damage if you are on low health. | ||
If you are using a hookshot to reach this grotto, logic expects you to have Goron Tunic or Nayru's Love to avoid taking damage long enough to hookshot the target. It is possible to hookshot the target without either the tunic or Nayru's, but is somewhat precise and is a trick, not in default logic. | |||
In one-hit KO or 4x damage, logic expects a method of reaching the grotto without taking damage. Goron Tunic and Nayru's Love allows you to step out into the lava between the two Song of Time blocks to spawn the second one, or you can spawn the first Song of Time block, go onto it, and then you can Longshot the target from there. Nayru's Love + Hookshot works the same. | |||
[[File:gcscrubs.png|560x315px]][[File:threescrubs.png|560x315px]][[File:Gcscrubssideview.png|560x315px]] | |||
<br><br><br> | |||
== Death Mountain Crater: 2 Grottos == | == Death Mountain Crater: 2 Grottos == | ||
| Line 262: | Line 322: | ||
[[File:dmcbomb.png|560x315px]][[File:generic.png|560x315px]] | [[File:dmcbomb.png|560x315px]][[File:generic.png|560x315px]] | ||
<br><br><br> | |||
'''DMC Hammer Grotto''' | '''DMC Hammer Grotto''' | ||
| Line 271: | Line 333: | ||
[[File:dmchammr.png|560x315px]][[File:threescrubs.png|560x315px]] | [[File:dmchammr.png|560x315px]][[File:threescrubs.png|560x315px]] | ||
== Zora's River: 3 | <br><br><br> | ||
== Zora's River: 3 Grottos == | |||
'''ZR Open Grotto''' | '''ZR Open Grotto''' | ||
| Line 280: | Line 344: | ||
[[File:zropen.png|560x315px]][[File:generic.png|560x315px]] | [[File:zropen.png|560x315px]][[File:generic.png|560x315px]] | ||
<br><br><br> | |||
'''ZR Fairy Grotto''' | '''ZR Fairy Grotto''' | ||
| Line 288: | Line 354: | ||
[[File:zrbomb.png|560x315px]][[File:fairies.png|560x315px]] | [[File:zrbomb.png|560x315px]][[File:fairies.png|560x315px]] | ||
<br><br><br> | |||
'''ZR Storms Grotto''' | '''ZR Storms Grotto''' | ||
| Line 298: | Line 366: | ||
[[File:zrstorms.png|560x315px]][[File:twoscrubsright.png|560x315px]] | [[File:zrstorms.png|560x315px]][[File:twoscrubsright.png|560x315px]] | ||
<br><br><br> | |||
== Zora's Domain: 1 Grotto == | == Zora's Domain: 1 Grotto == | ||
| Line 303: | Line 373: | ||
'''ZD Storms Grotto''' | '''ZD Storms Grotto''' | ||
''Required items'': Ocarina + Song of Storms | ''Required items'': Ocarina + Song of Storms. | ||
''Contains'': Fairies. | ''Contains'': Fairies. | ||
| Line 310: | Line 380: | ||
[[File:zdstorms.png|560x315px]][[File:fairies.png|560x315px]] | [[File:zdstorms.png|560x315px]][[File:fairies.png|560x315px]] | ||
<br><br><br> | |||
== Lake Hylia: 1 Grotto == | == Lake Hylia: 1 Grotto == | ||
| Line 320: | Line 392: | ||
[[File:lhopen.png|560x315px]][[File:threescrubs.png|560x315px]] | [[File:lhopen.png|560x315px]][[File:threescrubs.png|560x315px]] | ||
<br><br><br> | |||
== Gerudo Valley: 2 Grottos == | == Gerudo Valley: 2 Grottos == | ||
| Line 332: | Line 406: | ||
[[File:gvstorms.png|560x315px]][[File:twoscrubsright.png|560x315px]] | [[File:gvstorms.png|560x315px]][[File:twoscrubsright.png|560x315px]] | ||
<br><br><br> | |||
'''GV Octorok Grotto''' | '''GV Octorok Grotto''' | ||
| Line 340: | Line 416: | ||
[[File:gvoctorok.png|560x315px]][[File:octorok.png|560x315px]] | [[File:gvoctorok.png|560x315px]][[File:octorok.png|560x315px]] | ||
<br><br><br> | |||
== Gerudo Fortress: 1 Grotto == | == Gerudo Fortress: 1 Grotto == | ||
| Line 352: | Line 430: | ||
[[File:gfstorms.png|560x315px]][[File:fairies.png|560x315px]] | [[File:gfstorms.png|560x315px]][[File:fairies.png|560x315px]] | ||
<br><br><br> | |||
== Desert Colossus: 1 Grotto == | == Desert Colossus: 1 Grotto == | ||
Latest revision as of 17:38, 8 February 2022
by ETR_BTF
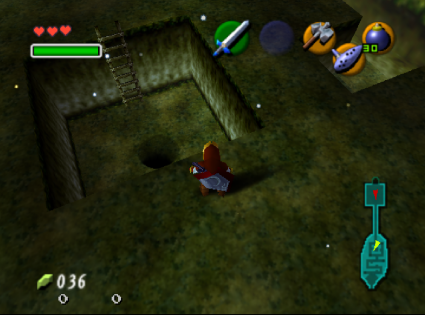
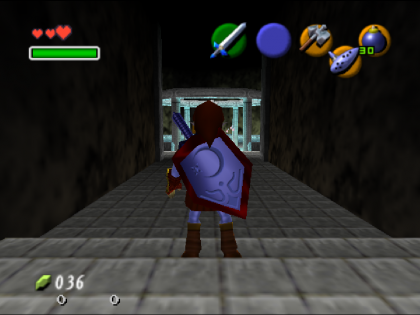
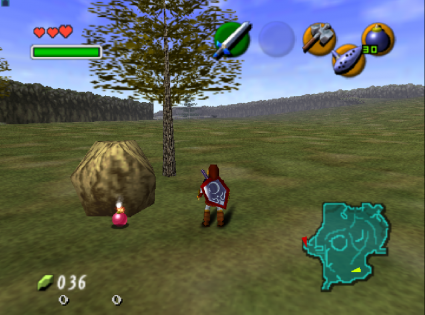
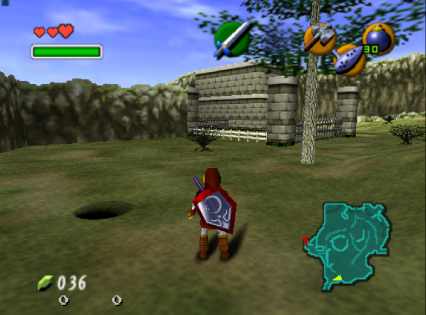
This is a comprehensive list of all the grottos in the game. All locations are named as they are in the spoiler log and are accompanied by pictures and item requirements. The purpose of this page is to aid players in finding all the grottos spread throughout Hyrule.
Kokiri Forest: 1 Grotto
KF Storms Grotto
Required items: Ocarina + Song of Storms.
Contains: A chest, a Gossip Stone, a fish, and bugs
Note that if the trick "Hidden Grottos without Stone of Agony" is disabled, the Stone of Agony will also be logically required to enter this grotto.
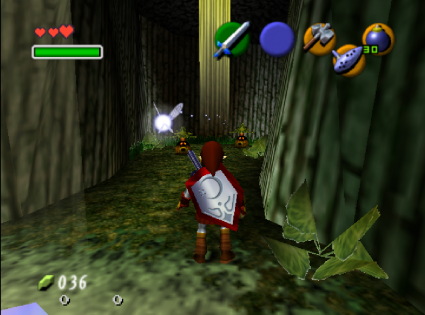
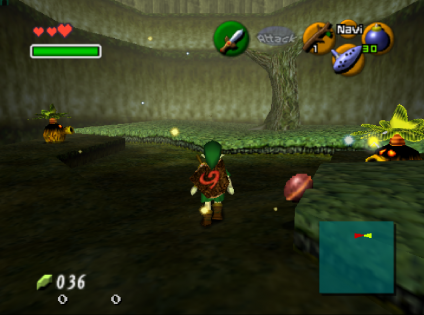
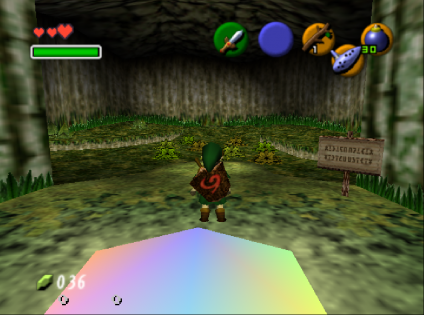
Lost Woods: 3 Grottos
LW Near Shortcuts Grotto
Required items: Explosives or Hammer.
Contains: A chest, a Gossip Stone, a fish, and bugs.
LW Scrubs Grotto
Required items: Explosives or Hammer.
Contains: Two Business Scrubs. The item of the front scrub is always shuffled (40r default price), whereas the rear scrub is only shuffled in scrubsanity.
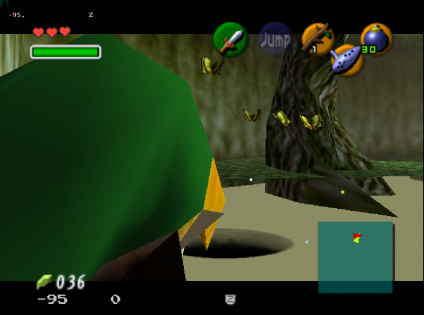
Deku Theater
Required items: None.
Contains: Two checks. "Deku Theater Skull Mask" and "Deku Theater Mask of Truth".
Sacred Forest Meadow: 3 Grottos
SFM Wolfos Grotto
Required items: Explosives or Hammer.
Contains: A chest that spawns upon defeating both Wolfos.
Note that if the trick "Hidden Grottos without Stone of Agony" is disabled, the Stone of Agony will also be logically required to enter this grotto.
SFM Storms Grotto
Required items: Ocarina + Song of Storms, and a way into the upper area of Sacred Forest Meadow (a way to kill a Wolfos as child, Minuet of Forest, Saria's Song, or performing the trick "Backflip over Mido as Adult")
Contains: Two Business Scrubs. They only sell shuffled items when scrubsanity is on.
Note that if the trick "Hidden Grottos without Stone of Agony" is disabled, the Stone of Agony will also be logically required to enter this grotto.
SFM Fairy Grotto
Required items: None.
Contains: Fairies.
Hyrule Field: 8 Grottos
HF Southeast Grotto
Required items: Explosives or Hammer.
Contains: A chest, a Gossip Stone, a fish, and bugs.
HF Open Grotto
Required items: None.
Contains: A chest, a Gossip Stone, a fish, and bugs.
HF Inside Fence Grotto
Required items: Explosives or Hammer.
Contains: A Business Scrub. The sold item is always shuffled and costs 10 rupees by default.
Note that if the trick "Hidden Grottos without Stone of Agony" is disabled, the Stone of Agony will also be logically required to enter this grotto.
HF Near Market Grotto
Required items: Explosives or Hammer.
Contains: A chest, a Gossip Stone, a fish, and bugs.
HF Tektite Grotto
Required items: Explosives or Hammer.
Contains: A freestanding item. Iron Boots or Gold Scale are required to obtain the item, but nothing is required to peek the item.
Note that if the trick "Hidden Grottos without Stone of Agony" is disabled, the Stone of Agony will also be logically required to enter this grotto.
HF Cow Grotto
Required items: As child explosives, as adult Hammer.
Contains: A Gossip Stone, a cow, a Gold Skulltula, and bugs. A source of fire is required to reach any of these.
Note that if the trick "Hidden Grottos without Stone of Agony" is disabled, the Stone of Agony will also be logically required to enter this grotto.
HF Near Kak Grotto
Required items: Explosives or Hammer.
Contains: A Gold Skulltula. Requires Hookshot or Boomerang.
Note that if the trick "Hidden Grottos without Stone of Agony" is disabled, the Stone of Agony will also be logically required to enter this grotto.
HF Fairy Grotto
Required items: Explosives or Hammer.
Contains: Fairies.
Hyrule Castle: 1 Grotto
HC Storms Grotto
Required items: Ocarina + Song of Storms. Child only.
Contains: A Gold Skulltula, a Gossip Stone, and bugs. All are locked behind bombable walls and the skull requires a Boomerang.
Note that if the trick "Hidden Grottos without Stone of Agony" is disabled, the Stone of Agony will also be logically required to enter this grotto.
Lon Lon Ranch: 1 Grotto
LLR Grotto
Required items: None. Child only.
Contains: Three Business Scrubs. They only sell shuffled items when scrubsanity is on.
Kakariko Village: 2 Grottos
Kak Redead Grotto
Required items: Explosives or Hammer.
Contains: A chest that spawns upon defeating both Redeads.
Note that if the trick "Hidden Grottos without Stone of Agony" is disabled, the Stone of Agony will also be logically required to enter this grotto.
Kak Open Grotto
Required items: None.
Contains: A chest, a Gossip Stone, a fish, and bugs.
Graveyard: 4 Grottos
Graveyard Shield Grave
Required items: None. As child it needs to be nighttime to be able to pull the grave.
Contains: A chest and fairies behind a bombable wall.
Graveyard Heart Piece Grave
Required items: None. As child it needs to be nighttime to be able to pull the grave.
Contains: A chest that spawns upon playing Sun's Song near the Redead.
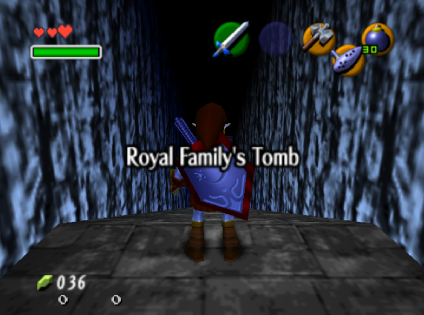
Graveyard Composers Grave
Required items: Zelda's Lullaby.
Contains: A chest that spawns upon lighting two torches and a song. Reaching the song requires the ability to defeat Keese.
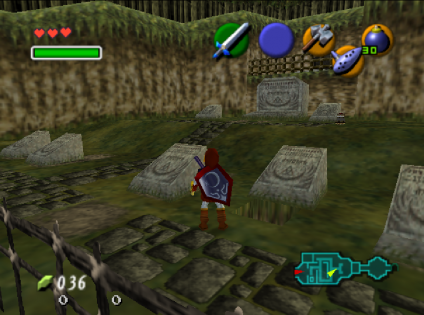
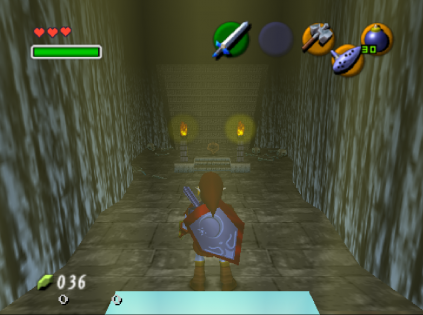
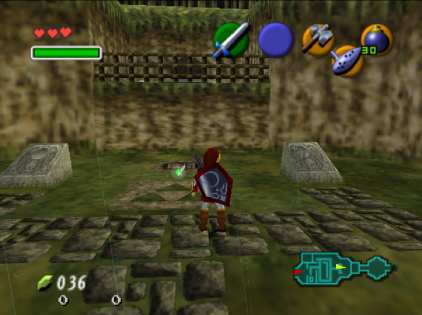
Graveyard Dampes Grave
Required items: None. Adult only.
Contains: A chest upon completion of the race and a freestanding item upon completion of the race in exactly a minute or less.
Death Mountain Trail: 2 Grottos
DMT Storms Grotto
Required items: Ocarina + Song of Storms.
Contains: A chest, a Gossip Stone, a fish, and bugs.
Note that if the trick "Hidden Grottos without Stone of Agony" is disabled, the Stone of Agony will also be logically required to enter this grotto.
DMT Cow Grotto
Required items: Explosives or Hammer.
Contains: A cow and a farmable red rupee.
Goron City: 1 Grotto
GC Grotto
Required items: Adult only. Goron Tunic + Hookshot, or Ocarina + Song of Time, or Nayru's Love + Hookshot. If one-hit KO or 4x damage is on, then the glitchless logical requirements are either Ocarina + Song of Time + Goron Tunic/Longshot/Nayru's Love, or Nayru's Love + Hookshot.
Contains: Three Business Scrubs. They only sell shuffled items when scrubsanity is on.
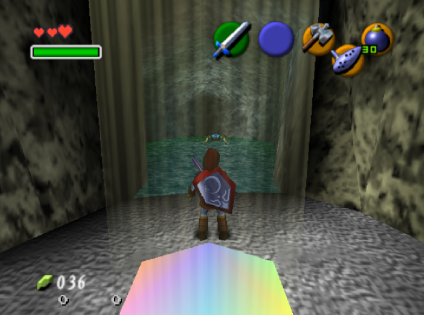
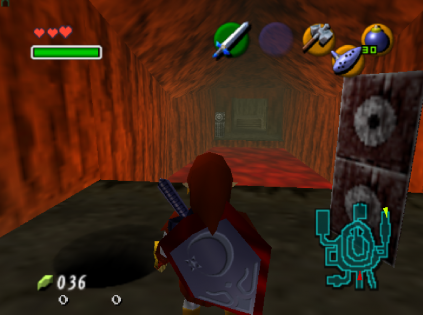
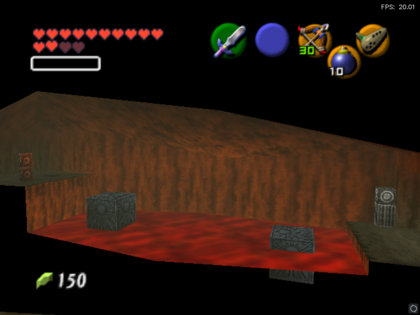
If you are using Song of Time to reach this grotto, there are two Song of Time blocks in the lava. You can play the song once before the lava pool to spawn a block at the beginning of the lava pool, walk out past the first block, and then play the song again to spawn the second block, which will let you jump up on the ledge. The second block will not spawn if you are playing the song while standing on the first block, or if you are standing where the second block spawns. The first block is not necessary to spawn, only the second one, but will help you avoid damage if you are on low health.
If you are using a hookshot to reach this grotto, logic expects you to have Goron Tunic or Nayru's Love to avoid taking damage long enough to hookshot the target. It is possible to hookshot the target without either the tunic or Nayru's, but is somewhat precise and is a trick, not in default logic.
In one-hit KO or 4x damage, logic expects a method of reaching the grotto without taking damage. Goron Tunic and Nayru's Love allows you to step out into the lava between the two Song of Time blocks to spawn the second one, or you can spawn the first Song of Time block, go onto it, and then you can Longshot the target from there. Nayru's Love + Hookshot works the same.
Death Mountain Crater: 2 Grottos
DMC Upper Grotto
Required items: Explosives or Hammer.
Contains: A chest, a Gossip Stone, a fish, and bugs.
DMC Hammer Grotto
Required items: Hammer.
Contains: Three Business Scrubs. They only sell shuffled items when scrubsanity is on.
Zora's River: 3 Grottos
ZR Open Grotto
Required items: None.
Contains: A chest, a Gossip Stone, a fish, and bugs.
ZR Fairy Grotto
Required items: Explosives or Hammer.
Contains: Fairies.
ZR Storms Grotto
Required items: Ocarina + Song of Storms.
Contains: Two Business Scrubs. They only sell shuffled items when scrubsanity is on.
Note that if the trick "Hidden Grottos without Stone of Agony" is disabled, the Stone of Agony will also be logically required to enter this grotto.
Zora's Domain: 1 Grotto
ZD Storms Grotto
Required items: Ocarina + Song of Storms.
Contains: Fairies.
Note that if the trick "Hidden Grottos without Stone of Agony" is disabled, the Stone of Agony will also be logically required to enter this grotto.
Lake Hylia: 1 Grotto
LH Grotto
Required items: None.
Contains: Three Business Scrubs. They only sell shuffled items when scrubsanity is on.
Gerudo Valley: 2 Grottos
GV Storms Grotto
Required items: Ocarina + Song of Storms. Adult only.
Contains: Two Business Scrubs. They only sell shuffled items when scrubsanity is on.
Note that if the trick "Hidden Grottos without Stone of Agony" is disabled, the Stone of Agony will also be logically required to enter this grotto.
GV Octorok Grotto
Required items: Silver/Gold Gauntlets.
Contains: An Octorok and some farmable rupees.
Gerudo Fortress: 1 Grotto
GF Storms Grotto
Required items: Ocarina + Song of Storms. Adult only.
Contains: Fairies.
Note that if the trick "Hidden Grottos without Stone of Agony" is disabled, the Stone of Agony will also be logically required to enter this grotto.
Desert Colossus: 1 Grotto
Colossus Grotto
Required items: Silver/Gold Gauntlets.
Contains: Two Business Scrubs. They only sell shuffled items when scrubsanity is on.
